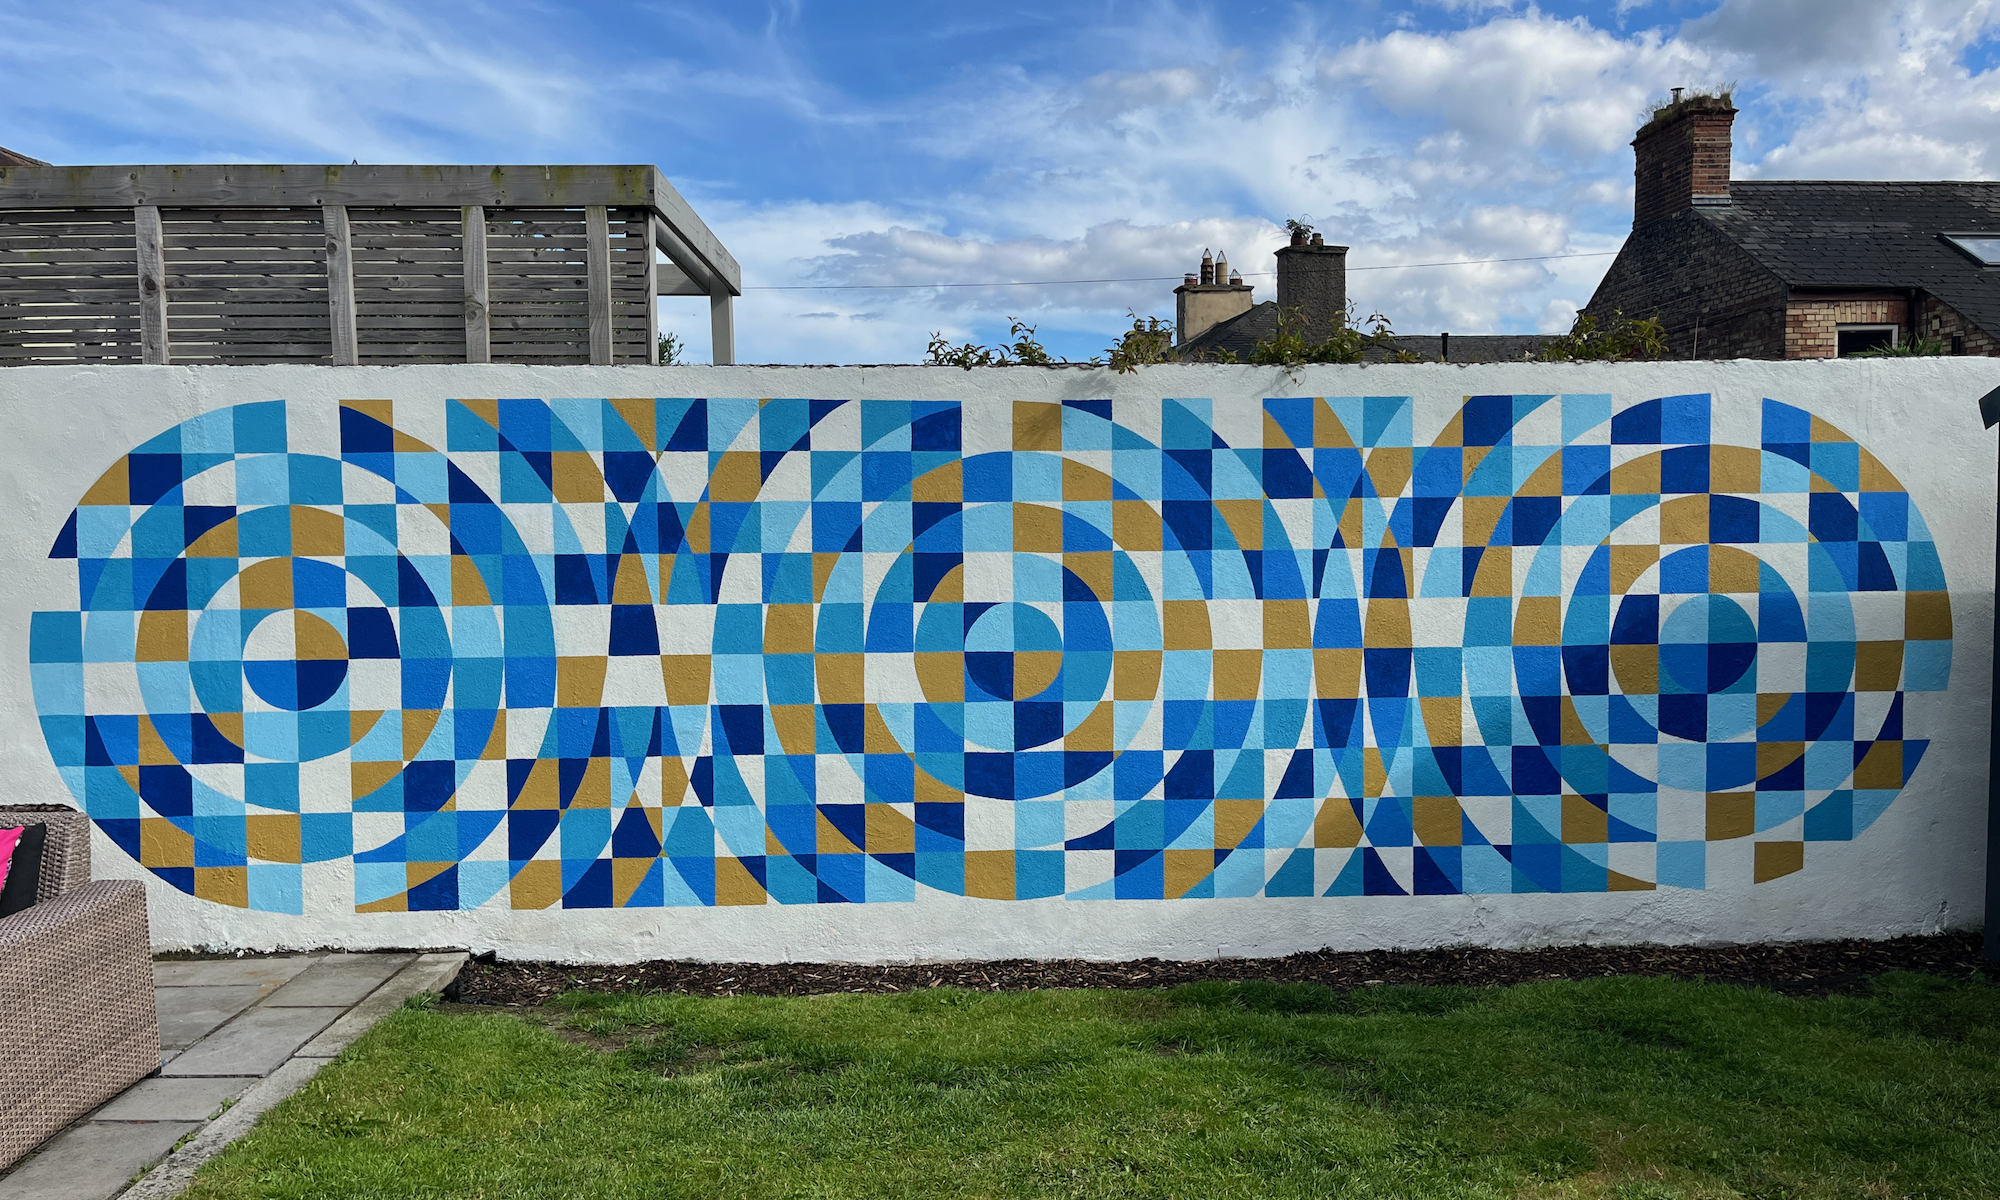
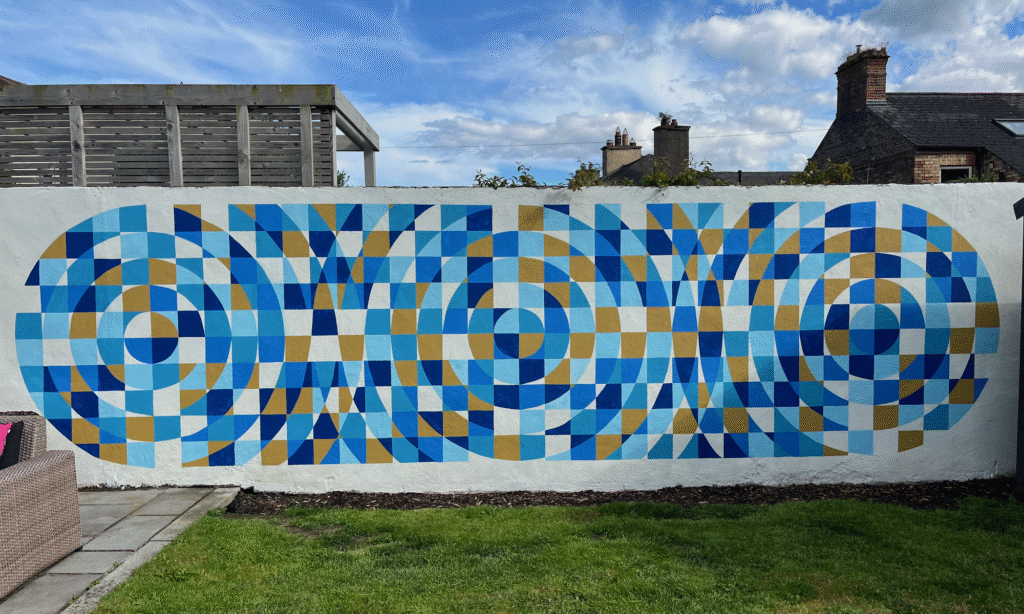
Earlier this summer I embarked on an outside-of-work project to bring a bit of colour to a blank garden wall. Other than brightening up a part of the garden that spends most of the day in shade, it was also a nice opportunity for some analogue creativity and to briefly, if not entirely, get away from tech.
Here’s the wall in question in its original state.
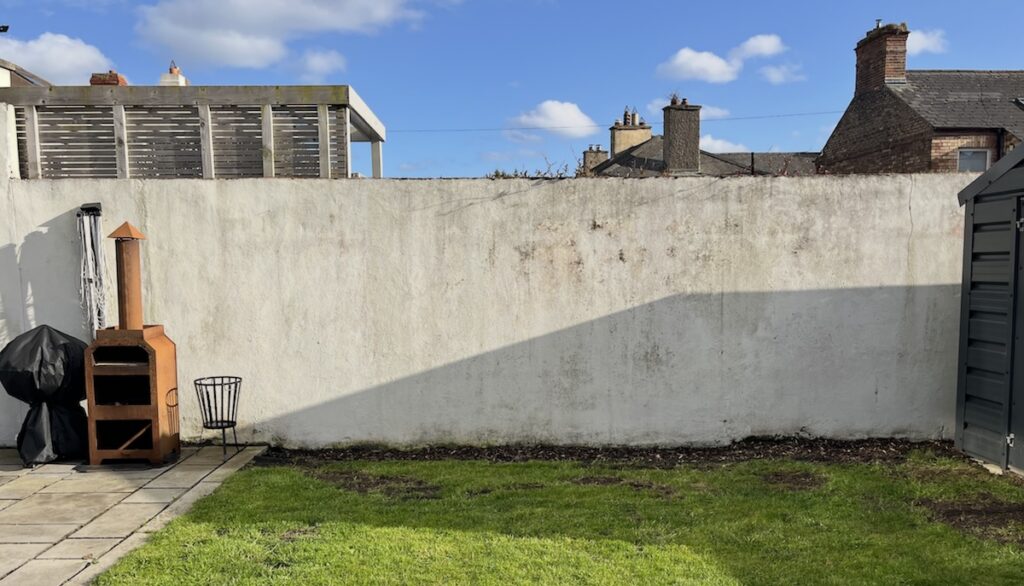
Since we moved into our new house in December I’d been thinking about what to do with this wall.
It was such a tempting blank canvas, rich in potential to have something creative done to it. I knew it was unlikely to be a place where we grew stuff up it (there’s an opposite white wall in full sun where that can happen) but I knew just whitewashing it wouldn’t be enough.
That said, whitewashing was the first stage, along with some filling and removing of some wall fixtures. Here’s the before-and-after shot…
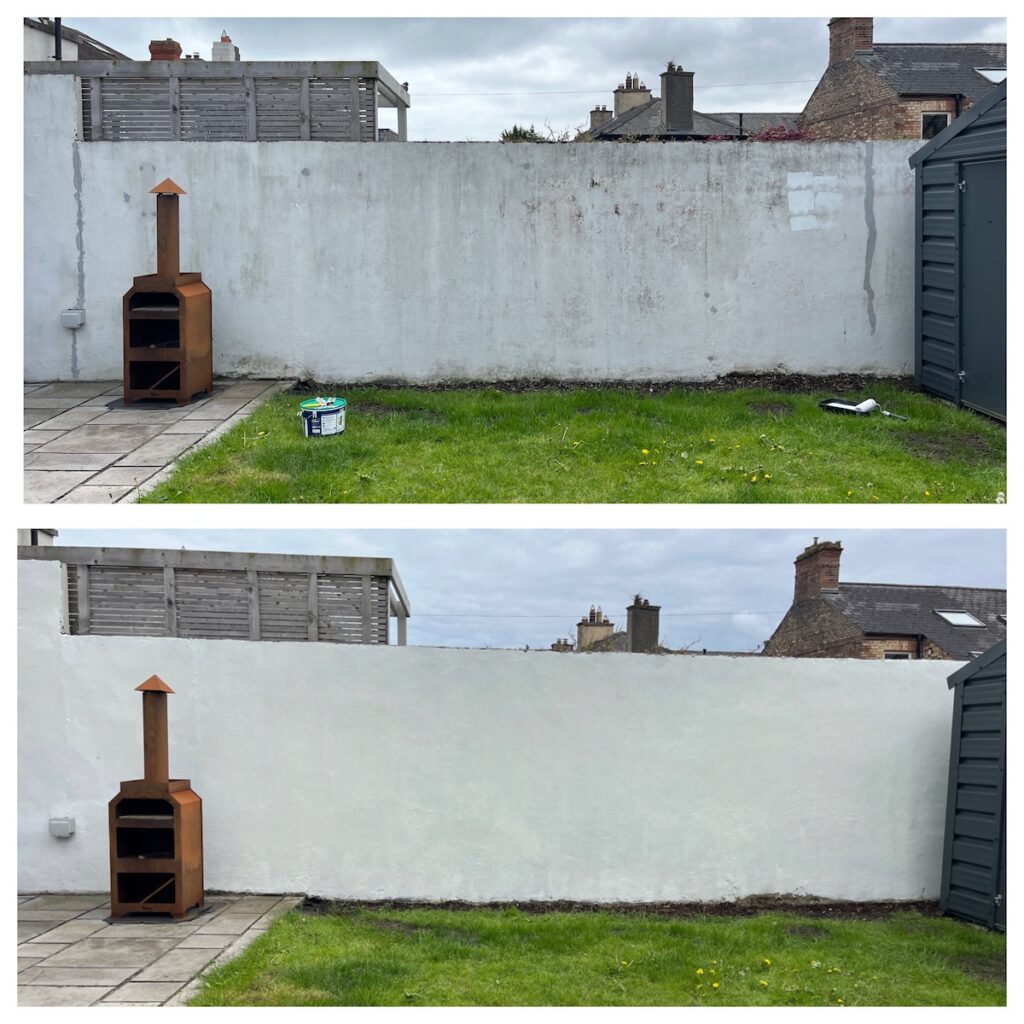
…but I know you probably want the timelapse of the whitewashing. Of course you do, its always very satisfying. This was done on Bank Holiday Monday, May 4th.
The canvas was prepared, but what to do with it?
In my previous apartment in Dublin city centre I lived near an amazing stretch of street art on South Dock Road, along the River Dodder. I’ve always fancied having a go at spray painting and seeing the artists down there doing what they do was simultaneously inspiring but also cautioning. As much as I’d like to give it a go, without the talent and experience I knew it would be the wrong thing to try for this project. Another time maybe.
Beyond the choice of material, in terms of the creative ‘subject’ I also knew that to attempt something figurative would be high-risk: unless it was perfectly executed it would look rubbish and would be misaligned stylistically with the garden setting. Sure, I could always CTRL-Z by whitewashing but I didn’t want to waste my time.
Although I flirted with the idea, I quickly rejected any pursuit of a data-driven creation. I wanted to be a bit freer than that would afford and I also sought some clear water with the day job.
I settled on pursuing something that would be abstract and geometric in nature. I let my brain relax into waiting for something compelling to come to mind and one night I had a vision of a rectangular grid of squares overlaid with concentric rings. I don’t know why, it just popped up in my mind. I wrote down my idea on my phone’s Notes app then drew it out in Illustrator in the morning. I immediately had that inner feeling that here was something I could work with.
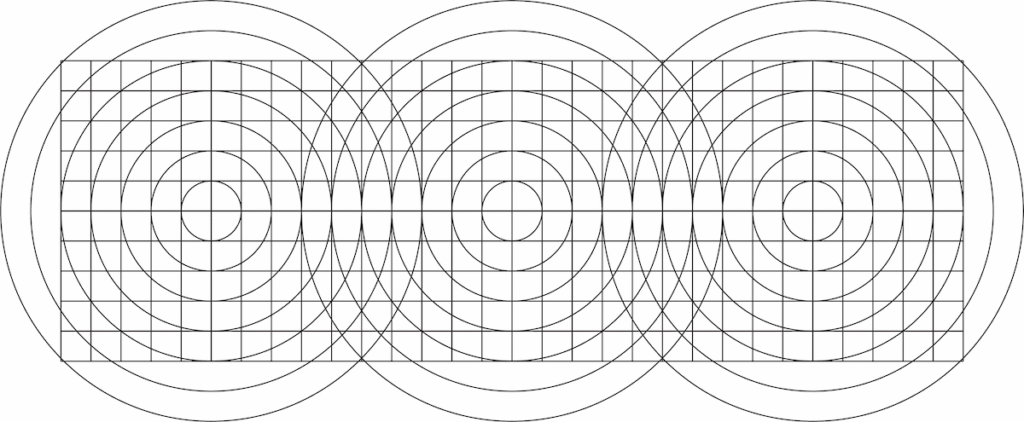
The dimensions of the wall space were approx 6 metres in length and 2 metres in height, which was a neat aspect to work within. I adjusted the initial outline sketch to match those dimensions making the overall pattern more rectangular. I also adjusted the layout to find the right harmony for the numbers of rings, the most elegant positioning of each circle’s origin, and the ideal grid-cell dimensions.
But what would I do with this outline pattern? How would I fill it? With what colours would I paint it?
I initially considered a blend of filling isolated cells and then combining others into continuous shapes. I wanted to use a range of colours but I needed some theme to work towards and maybe some rules to work within.
To help experiment with different options I exported from Illustrator an SVG of my final pattern and then used Claude AI to build a little tool to isolate all the pattern’s individual cell regions and fill them with different colours, drawing from a set of predefined palettes as well as the flexibility to customise my own.
Pattern Colourer
I was getting closer to finding the answer. I extended the tool to allow modifications to the pattern’s stroke colour and width and, above all, introduced an optimised layout rule whereby no cell would be filled in the same colour as a directly adjacent cell. This would help me determine the required number of distinct colours. I added a feature to save generated custom palettes and to export the resulting patterns as png/svg images. With that I also included the option to add a numeric colour label so that I would be able to follow a ‘paint by numbers’ approach when executing it on the wall.
Although I had liked the burst of bright rich colours offered by some of the palettes, the choice of these colours was arbitrary. I wanted something a bit more meaningful, or at least a bit more deliberate.
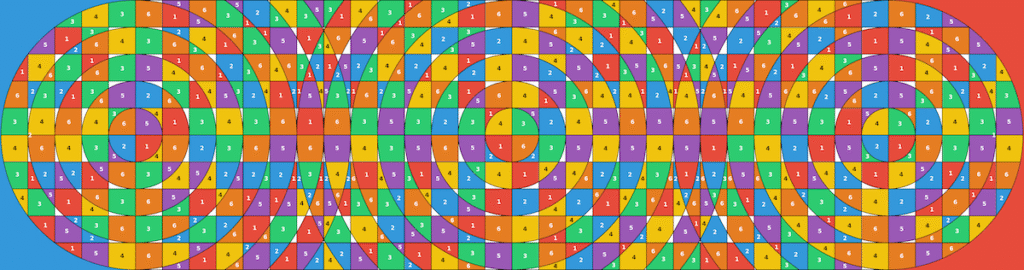
As I was thinking more about the pattern, I started seeing it as being an abstract depiction of ripples in water. Maybe the movement of water when you are in a swimming pool looking down at its tiled floor. This ‘water’ theme was also relevant given about 600m (as the crow flies) beyond the wall I was painting on are the waters of Dublin bay.
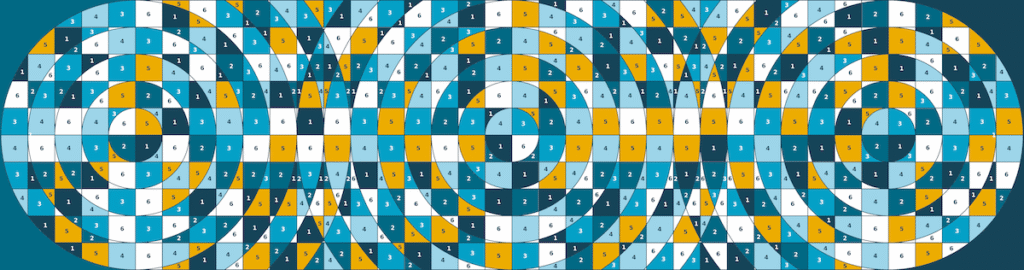
I liked this idea, focusing on different variations of one primary hue (blue) with a single accent colour (gold). I was still unsure whether to actively paint the outline strokes of each region but I was clear that, though the tool was generating patterns based on a full rectangle, I was going to ignore the corners and have rounded edges.
Having worked out the design wireframe and paint-filling approach, I had to choose my paint material. I did some research into the most robust exterior paint types (the wall is exposed to Ireland’s climate, after all) as well as considered which range would offer me the widest variety of colour options AND be available in the right volume quantities. I didn’t want to invest in huge 2L/5L tubs of different paint colours if I was only going to need to use small amounts of each.
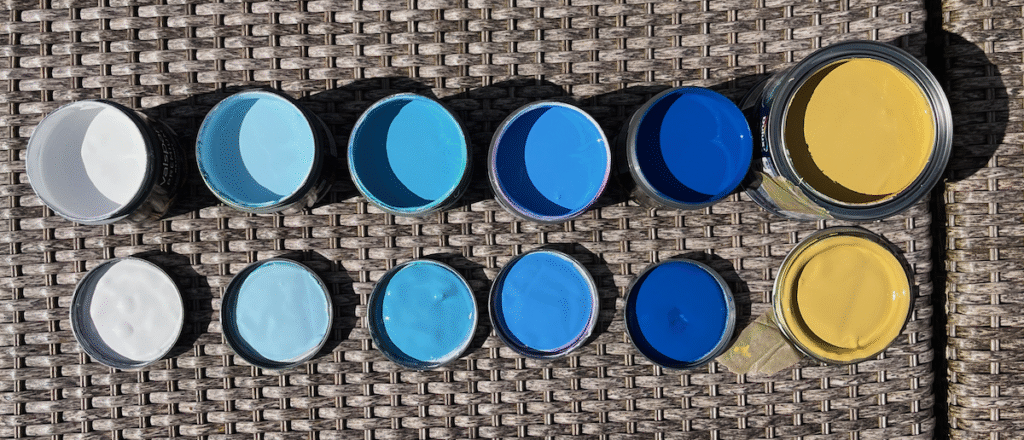
The best option came with B&Q’s ‘Valspar’ paints, specifically their exterior masonry range. Not only could I pick from a huge range of colours I could also get 236ml tester pots of my chosen colours for €7. Having established I would need six different colour paints, I calculated how much surface area each colour was expected to cover. I ordered two tester pots for each (the ‘gold’ colour was sourced from another paint specialist), giving me just enough to do one coat with a bit of spare paint leftover for future touch-ups.
It was time to start. With my pattern guide printed I plotted out the design’s real-world dimensions and got to work on drawing it up on to the wall.
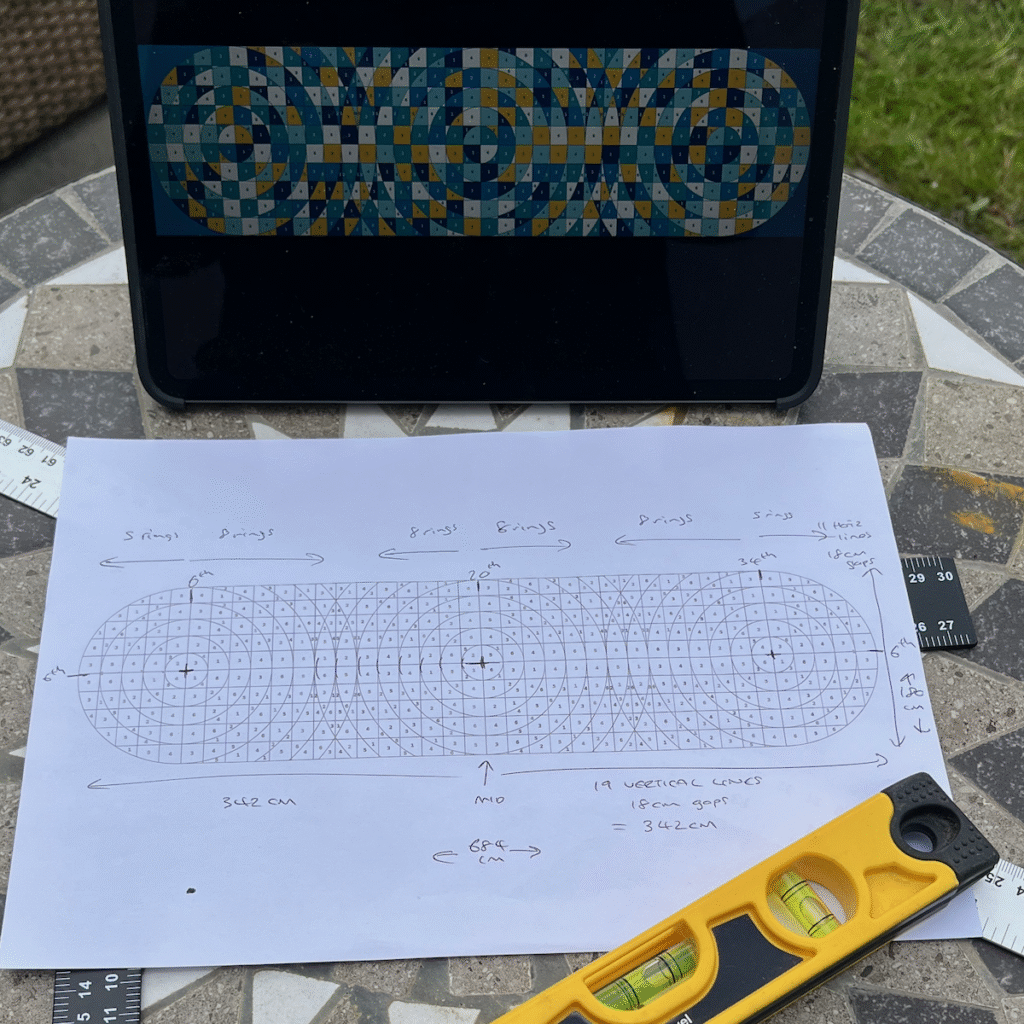
With the wall’s surface being far more lumpy-and-bumpy than I’d realised I decided to use a dry-wipe marker pen to draw out the pattern (this was a mistake as it turns out dry-wipe pen plus rain equals goodbye drawing. Who knew?). With a metre rule, set square, and spirit level I created the outline grid.
To form the circles I used a simple method of string attached to the circle origin at one end and to the pen at the other and drew out the arcs, extending the string length by a grid’s-width each time.
I then marked out all the cells that would be taking the first of my blue colours, using my paint-by-numbers guide to put little blobs of colour in each relevant region.
The most challenging aspect of doing the painting was coping with the wall’s uneven nature. Not only was the wall not uniformly flat or straight throughout, the surface would be best described as being akin to painting on a giant poppadom. Because of this it took far longer and far more effort to complete each cell as accurately as I could manage without losing my marbles. This was made harder by the deteriorating outlines of the pattern during what was becoming quite a wet month of May.
Despite that, progress continued…
By the end of May I had managed to get through filling in all the regions for all four of the blues.
Next up, the hugely satisfying addition of the gold paint. The final colour to add.
Until finally, belatedly after a few weeks break due to bad weather and holidays, by mid-June I applied the final touches using a gold-ink pen for the tiny little regions that were too fiddly for the paint brush.
And there we have it. Took a few weeks in the end because it was only possible to make occasional progress. I reckon if I’d been working on it continuously and without weather interruptions it would have taken a full working week. I’m not sure I would have had the patience though to do it so relentlessly like that.